How to test an LED driver with a multimeter? - WEHO
logo weho

How to test an LED driver with a multimeter?

LEDs have transformed the lighting industry, thanks to their remarkable efficiency and long lifespan. However, powering these innovative devices requires more than simply plugging them into an electrical outlet. They rely on a crucial component known as the LED driver.

An LED driver serves as a crucial control system responsible for delivering the precise power required for optimal operation of an LED. In analogy, if LEDs were likened to race cars, then the LED driver functions as its diligent maintenance crew, ensuring it consistently operates at peak performance.

Before buying, it’s important to test whether the drive is working properly. Testing with a multimeter is an easy way to determine if an LED driver meets your needs and expectations.

Why should you test an LED driver?

Regularly testing your LED drivers is crucial in order to maximize the lifespan of your LEDs. An inefficient driver can significantly shorten their life or even render them completely unusable. To ensure optimal performance, it is recommended to use a multimeter as the preferred tool for this task. By regularly monitoring and testing your LED drivers with a multimeter, you can be confident that you are getting the most out of your LEDs and maintaining their efficiency.

Basics of a multimeter

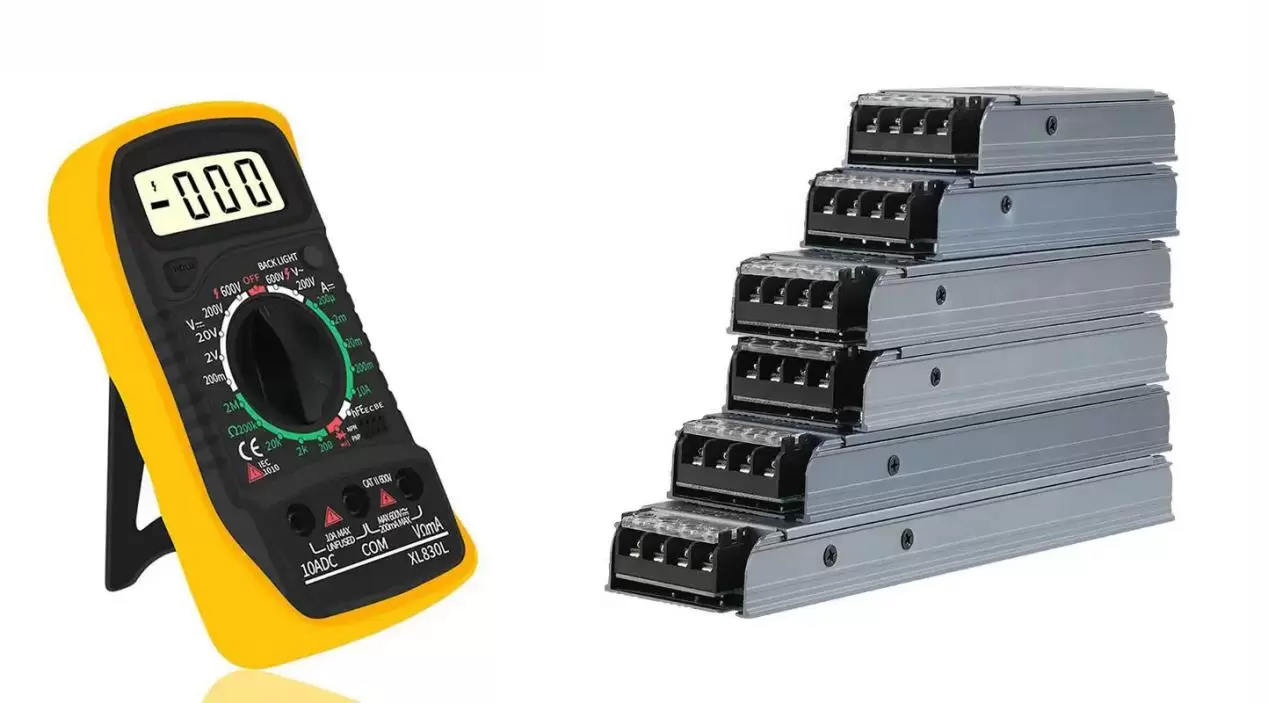
A multimeter is a versatile electronic measuring instrument that integrates several measurement functions into a single device.

Some of its key features include:

Components: A typical multimeter consists of a rotary switch for selecting functions, a digital or analog display, and two probes.

It can measure:

Voltage (DC and AC): The electrical potential difference between two points.

Current: The flow of electrical charge.

Resistance: The degree to which a substance blocks the flow of electricity.

Safety Tips: It is essential to always ensure that the power to the equipment you are testing is turned off. Additionally, it is critical to avoid touching exposed wires, as this can be extremely dangerous. When testing, it is advisable to begin at the highest setting and gradually decrease the intensity. Following these guidelines will help ensure safety during the testing process.

Understand the components of LED drivers

LED drivers are electronic devices that regulate power to LED (light-emitting diode) lighting systems. They ensure that the LED receives a consistent and appropriate amount of current to operate efficiently and safely.

LED drivers typically consist of several key components that work together to provide stable, stable power to the LED lighting system, ensuring optimal performance, longevity, and energy efficiency.

1. Input voltage rectification: LED drivers usually accept a wide range of input voltages, such as AC (alternating current) power supply voltage or DC (direct current) power supply. The input voltage is rectified to a DC voltage suitable for use by the LED driver.

2. Switch control circuit: This circuit controls the switching frequency and duty cycle of the LED driver.

It converts DC voltage into high-frequency AC voltage to drive LEDs.

3. Power factor correction (PFC): The PFC circuit helps improve the power factor of the LED driver. The power factor is a measure of how efficiently electricity is used. A higher power factor reduces energy waste and ensures efficient power delivery.

4. LED Current Regulation: LED drivers include circuitry to maintain a constant current through the LED load. This helps ensure uniform brightness across multiple LEDs and prevents damage from excessive current flow.

5. Dimming control circuit: Some LED drivers have a built-in dimming function, allowing the LED to be dimmed or the brightness adjusted. Dimming control circuits can utilize various techniques such as pulse width modulation (PWM) or analog dimming.

6. Thermal Management: LED drivers often have thermal protection components to prevent the LED system from overheating. This can include thermal impedance monitoring or thermal shutdown features to prevent excessive temperatures.

7. Output protection: LED drivers may also have features to protect against short circuits, overvoltage, overcurrent, or other faults. These protective measures ensure the longevity and safety of the LEDs.

8. Capacitors and Inductors: These passive components are used in LED drivers to store and control energy. Capacitors help smooth voltage, while inductors regulate current flow and help suppress electrical noise.

Preparation is required before testing LED drivers with a multimeter

Before delving into the process of testing an LED driver with a multimeter, it’s important to make sure you’re fully prepared. Start by powering down and disconnecting the drive.

It is important to gather the tools and materials you need. This may include electrical tape, screwdrivers, wire strippers, and a multimeter.

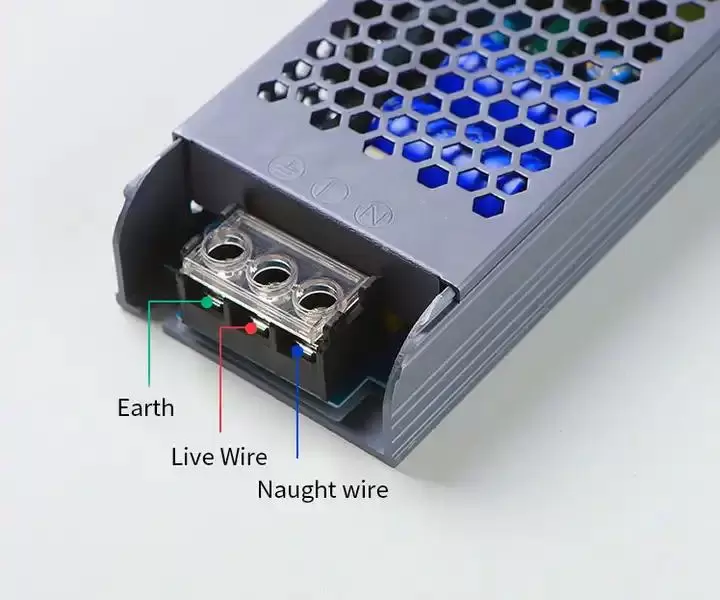
Finally, make sure you are familiar with the drive’s input and output terminals, as these are crucial during the testing process.

Preparation required before testing LED drivers

How to safely handle multimeters when testing LED drivers

A multimeter is an important tool for measuring voltage, current, and resistance. However, it can also be dangerous if used incorrectly, especially when testing high-voltage circuits. To avoid accidents, always wear rubber-soled shoes and work gloves when operating the multimeter.

Before connecting your multimeter to any circuit, make sure it is set to the correct range. When testing an LED driver, connect the multimeter’s probes to the driver’s input and output terminals, making sure not to touch the probes together.

Determine the type of multimeter needed to test the LED driver

A multimeter is a must-have tool when testing LED drivers. But with so many different types of multimeters on the market, how do you know which one is best for testing LED drivers?

Determining which type of multimeter you need is primarily based on the specifications of the LED driver.

By considering voltage range, current measurement capabilities, and features like auto ranging and backlit displays, you can find the right multimeter for the job and ensure accurate and reliable test results.

Connection on multimeter and LED driver

To make sure you connect your multimeter to your LED driver correctly, you need to pay close attention to your wiring and make sure you have the right tools for the job. Once you have successfully connected your multimeter, it is important to select the correct settings on your multimeter to get accurate readings.

To connect a multimeter to the LED driver, follow these steps:

Set the multimeter to measure DC voltage.
Identify the positive (+) and negative (-) terminals on the LED driver.
Connect the red probe of the multimeter to the positive terminal of the LED driver.
Connect the black lead of the multimeter to the negative terminal of the LED driver.
Turn on the LED driver.
Read the voltage displayed on the multimeter screen.screen.

Note: Be sure to observe polarity when connecting multimeter probes to the LED driver terminals. The red probe should be connected to the positive terminal and the black probe should be connected to the negative terminal.

the LED driver with a multimeter

Test each component of the LED driver with a multimeter

When working with LED drivers, it is absolutely essential to thoroughly test every component. A multimeter is a very useful tool in this regard, as it allows you to measure every aspect of each component, from resistance to voltage, giving you a clear idea of its performance.

Testing LED driver continuity

Continuity plays a vital role in the operation of electrical systems as it provides an uninterrupted path for electrical current to flow. A multimeter becomes an essential tool when evaluating LED driver continuity.

Measuring the output voltage of an LED driver

Whether it is a “12v LED driver” or a “24v LED driver”, it is crucial to correctly measure the output voltage of the LED driver. This ensures that it operates effectively within the specified parameters.

Test input voltage

When testing the input voltage of an LED driver, ensuring accuracy is crucial, especially for critical drivers such as the “24v Dimmable LED Driver”.

Check for shorts or open circuits

A firm grasp of the complexities of short and open circuits is critical to ensuring optimal operation of LED drivers. A short circuit occurs when electricity deviates from its intended path and takes an unexpected shortcut, while an open circuit means a break in the power line. These conditions can severely impact the efficiency of the LED driver..

Disconnect the multimeter from the LED driver once all tests are complete

To ensure proper use and efficiency of your LED driver, it is important to test with a multimeter and collect accurate readings. After completing all necessary tests and recording data, it is critical to remember to disconnect the multimeter from the LED driver. Failure to do so may result in drive damage or even create a safety hazard.

Disconnect the multimeter

Conclusion

Having a thorough understanding of LED drivers is crucial for ensuring the longevity and efficiency of LEDs. By utilizing a multimeter, it becomes effortless to assess the performance of your LED driver.

LED technology is continuously advancing, so it’s important to stay informed and ensure that your LED drivers are in optimal condition. If you’re in search of a high-quality LED driver, visit our product page and place your order today!

Popular Products

SP-18000 Single Output Power Supply With PFC

SP-18000 Single Output Power Supply With PFC

Nov 02, 2024
SP-15000 Single Output Power Supply With PFC

SP-15000 Single Output Power Supply With PFC

Nov 02, 2024
SP-12000 Single Output Power Supply With PFC

SP-12000 Single Output Power Supply With PFC

Nov 02, 2024
SP-9000 Single Output Power Supply With PFC

SP-9000 Single Output Power Supply With PFC

Nov 02, 2024
SP-6000 High Power Switching Power Supply

SP-6000 High Power Switching Power Supply

Nov 02, 2024
SP-3000 High Power Switching Power Supply

SP-3000 High Power Switching Power Supply

Nov 02, 2024

Contact us