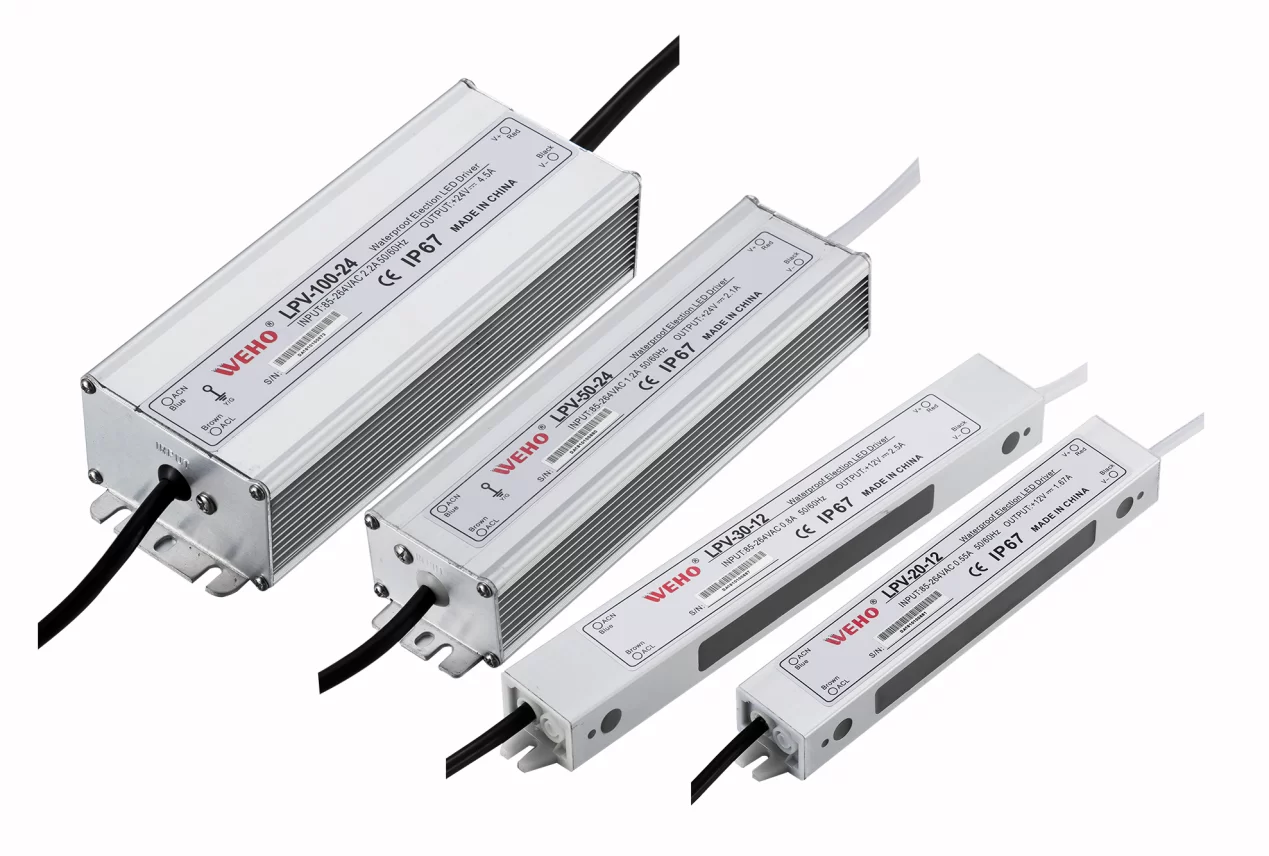
LED drivers are the unsung heroes of modern lighting systems, responsible for regulating power to LEDs and ensuring their longevity and efficient operation. A thorough understanding of LED driver testing procedures is essential for anyone involved in the design, installation, or maintenance of LED lighting. This comprehensive guide will delve into the intricacies of LED driver testing, equipping you with the knowledge and techniques to evaluate driver performance, identify potential issues, and ensure optimal operation.
Preparation is Key: Gathering Your Tools and Understanding the Specifications
Before embarking on the testing process, gather the necessary equipment. This typically includes:
Multimeter: For measuring voltage, current, and resistance.
Oscilloscope: For visualizing voltage waveforms and measuring ripple.
DC Power Supply: A variable DC power supply capable of providing the required input voltage range.
Electronic Load: For simulating various load conditions and testing protection circuits.
Temperature Sensor (Optional): For monitoring driver temperature during thermal testing.
LED Load (or appropriate resistor): The LED module or a suitable resistor that matches the driver’s output specifications.
Crucially, obtain the manufacturer’s datasheet for the specific LED driver being tested. This document contains vital information regarding the driver’s operating parameters, electrical characteristics, and testing recommendations. Understanding these specifications is paramount for accurate interpretation of test results.

Initial Inspection and Safety Precautions
Begin by visually inspecting the LED driver for any physical damage, loose connections, burn marks, or other anomalies. Always prioritize safety:
Disconnect power before handling the driver.
Wear appropriate personal protective equipment (PPE), including safety glasses and insulated gloves.
Ensure the testing environment is well-ventilated.
Input Characteristics: Verifying Power Consumption
Connect the DC power supply to the LED driver’s input terminals, ensuring the correct polarity. Set the power supply to the driver’s nominal input voltage. Using the multimeter, measure the input current. Compare this value to the manufacturer’s specifications. Excessive input current may indicate a fault within the driver.
Output Performance: Voltage, Current, and Ripple
Connect the appropriate LED load (or resistor) to the driver’s output terminals. Using the multimeter, measure the output voltage and current. These values should correspond to the driver’s specifications and the requirements of the connected load. Discrepancies may indicate issues with the driver’s regulation circuitry.
Next, use the oscilloscope to examine the output voltage waveform. Measure the ripple voltage, which is the AC component superimposed on the DC output voltage. Excessive ripple can negatively impact LED lifespan and performance. Compare the measured ripple to the manufacturer’s specifications.
Efficiency Evaluation: Minimizing Energy Loss
Calculate the driver’s efficiency by dividing the output power (output voltage multiplied by output current) by the input power (input voltage multiplied by input current). Express the result as a percentage. A higher efficiency indicates less energy wasted as heat, contributing to lower operating temperatures and prolonged lifespan.
Dimming Functionality: Testing Control Signals
If the LED driver supports dimming, test its functionality using the appropriate control method (e.g., PWM, 0-10V, DALI). Verify the dimming range, smoothness, and responsiveness. Observe the output voltage and current while adjusting the dimming level.
Protection Mechanisms: Ensuring Safe Operation
Test the driver’s protection circuits, including over-current protection, short-circuit protection, and over-temperature protection. These tests should be performed with caution and in accordance with the manufacturer’s guidelines. For example, to test short-circuit protection, briefly short the output terminals while monitoring the driver’s response. The driver should shut down or limit the output current to prevent damage.
Thermal Stability: Evaluating Heat Dissipation
Operate the LED driver at its maximum rated load for an extended period, typically several hours. Monitor the driver’s temperature using a temperature sensor. Ensure the temperature remains within the manufacturer’s specified operating range. Excessive temperatures can significantly shorten the driver’s lifespan.
Documentation and Analysis: Recording and Interpreting Results
Meticulously document all test results, including input voltage, input current, output voltage, output current, ripple voltage, efficiency, and temperature readings. Compare these results to the manufacturer’s specifications. Any significant deviations warrant further investigation and may indicate a faulty driver.

Conclusion: Ensuring Optimal LED Driver Performance
Thorough testing is crucial for verifying the performance, reliability, and safety of LED drivers. By following the procedures outlined in this guide, you can effectively evaluate LED drivers and ensure they meet the demands of your lighting application. Remember to prioritize safety, consult the manufacturer’s documentation, and meticulously document your findings. This comprehensive approach will contribute to the longevity and optimal performance of your LED lighting system.If you have more ideas about Led Driver detection, please send me Whatsapp: +86 18991841394 Website: https://wehopower.com/.Finally, thank you for reading this blog.


