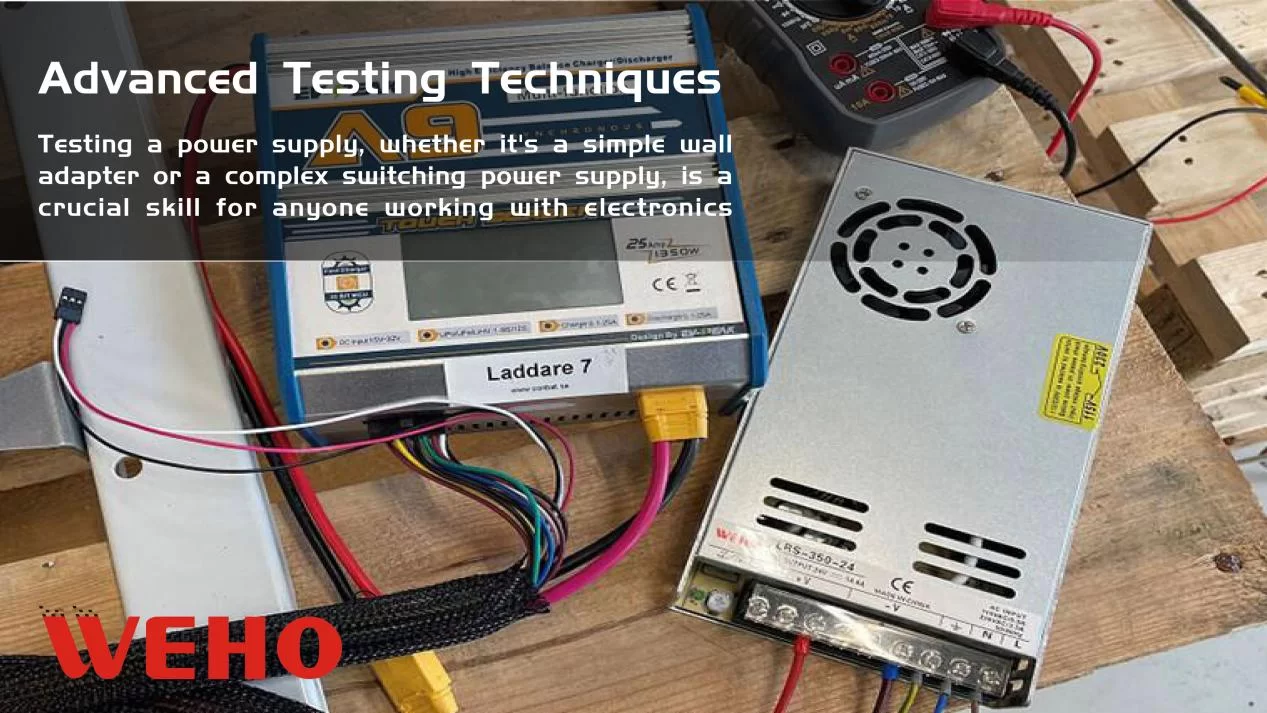
Testing a power supply, whether it’s a simple wall adapter or a complex switching power supply, is a crucial skill for anyone working with electronics.Multimeter is an indispensable tool for this task, allowing you to verify voltages, diagnose faults, and ensure the power supply is functioning correctly. This guide provides a comprehensive overview of power supply testing procedures using a multimeter, targeting individuals with a basic understanding of electronics and safe measurement practices.

Safety Precautions: Paramount for Personal and Equipment
Safety
Before starting any testing, prioritize safety:
1.De-energize: Disconnect the power supply from the mains before connecting any test leads. This prevents electrical shock and potential damage to the multimeter.
2.Proper Handling: Handle the multimeter with care, ensuring your hands are dry and you’re working in a well-lit, dry environment.
3.Correct Lead Placement: Double-check the placement of the multimeter leads before powering on the supply. Incorrect placement can lead to short circuits and damage.
4.Start with Highest Range: Begin voltage measurements on the highest range and gradually step down to the appropriate range for accurate readings. This prevents potential overload of the multimeter.
5.No Modifications: Never attempt to modify or repair a power supply while it’s energized. This is extremely dangerous and can lead to serious injury.
Testing DC Output Voltages: Essential for Functionality
Most power supplies provide DC outputs. Here’s how to test them:
1.Identify Output Terminals: Consult the power supply’s documentation to identify the positive (+) and negative (-) terminals for each output voltage rail.
2.Multimeter Setup: Set the multimeter to DC voltage mode (V⎓). Select a range higher than the expected output voltage.
3.Connect Leads: Connect the red (positive) lead of the multimeter to the positive (+) output terminal and the black (negative) lead to the negative (-) output terminal.
4.Power On: Connect the power supply to the mains and switch it on.
5.Measure Voltage: Observe the reading on the multimeter. It should be within the specified tolerance of the expected output voltage. For example, a 12V rail might have a tolerance of ±5%, meaning acceptable readings are between 11.4V and 12.6V.
6.Repeat for All Rails: Repeat the process for all output voltage rails on the power supply.
Testing AC Input Voltage: Verifying Input Power
Before delving into DC output testing, it’s prudent to confirm the AC input voltage:
1.Multimeter Setup: Set the multimeter to AC voltage mode (V~). Select a range higher than the expected mains voltage (e.g., 250V for 120V/230V mains).
2.Connect Leads: Connect the multimeter leads to the AC input terminals of the power supply, observing correct polarity (if applicable). For IEC connectors, this is usually the Live and Neutral pins.
3.Measure Voltage: Plug the power supply into the mains and observe the reading. The measured voltage should be close to the nominal mains voltage in your region.

Testing for Ripple and Noise: Analyzing Output Quality
Ripple and noise are unwanted AC fluctuations superimposed on the DC output. Excessive ripple can interfere with sensitive electronic circuits.
1.Multimeter Setup: Set the multimeter to AC voltage mode (V~). Select a low voltage range (e.g., millivolts).
2.Connect Leads: Connect the multimeter leads across the DC output terminals, just as you did for the DC voltage measurement.
3.Measure AC Voltage: The reading represents the AC ripple and noise. Compare this value to the manufacturer’s specifications. Excessive ripple might indicate a faulty capacitor or other issues within the power supply.
Testing for Short Circuits: Identifying Potential Hazards
A short circuit can cause overheating and potentially damage the power supply.
1.De-energize: Ensure the power supply is completely disconnected from the mains.
2.Multimeter Setup: Set the multimeter to resistance mode (Ω).
3.Connect Leads: Connect the multimeter leads across the output terminals of the power supply.
4.Measure Resistance: A very low resistance reading (close to zero) indicates a short circuit. A healthy power supply should exhibit a high resistance reading.
Advanced Testing Techniques:
1.Load Testing: Using a variable load, observe the output voltage stability under different load conditions. This helps assess the power supply’s ability to maintain regulation under varying current demands.
2.Oscilloscope Analysis: An oscilloscope provides a detailed visualization of the output waveform, allowing for a more precise analysis of ripple, noise, and transient behavior.

Conclusion: Mastering Power Supply Diagnostics
Testing a power supply with a multimeter is a fundamental skill for electronics enthusiasts and professionals. By following these procedures and prioritizing safety, you can effectively diagnose faults, ensure proper functionality, and maintain the long-term health of your electronic devices. Remember to consult the manufacturer’s documentation for specific testing procedures and acceptable tolerances. A thorough understanding of power supply testing empowers you to troubleshoot effectively and maintain a reliable power source for your electronic projects.If you Interested in Test DinRail Power Supply and have suggestions for my Blog.Please Contact me on https://wehopower.com/ or Whatsapp:+86 18991841394 Thank you for reading this blog.


